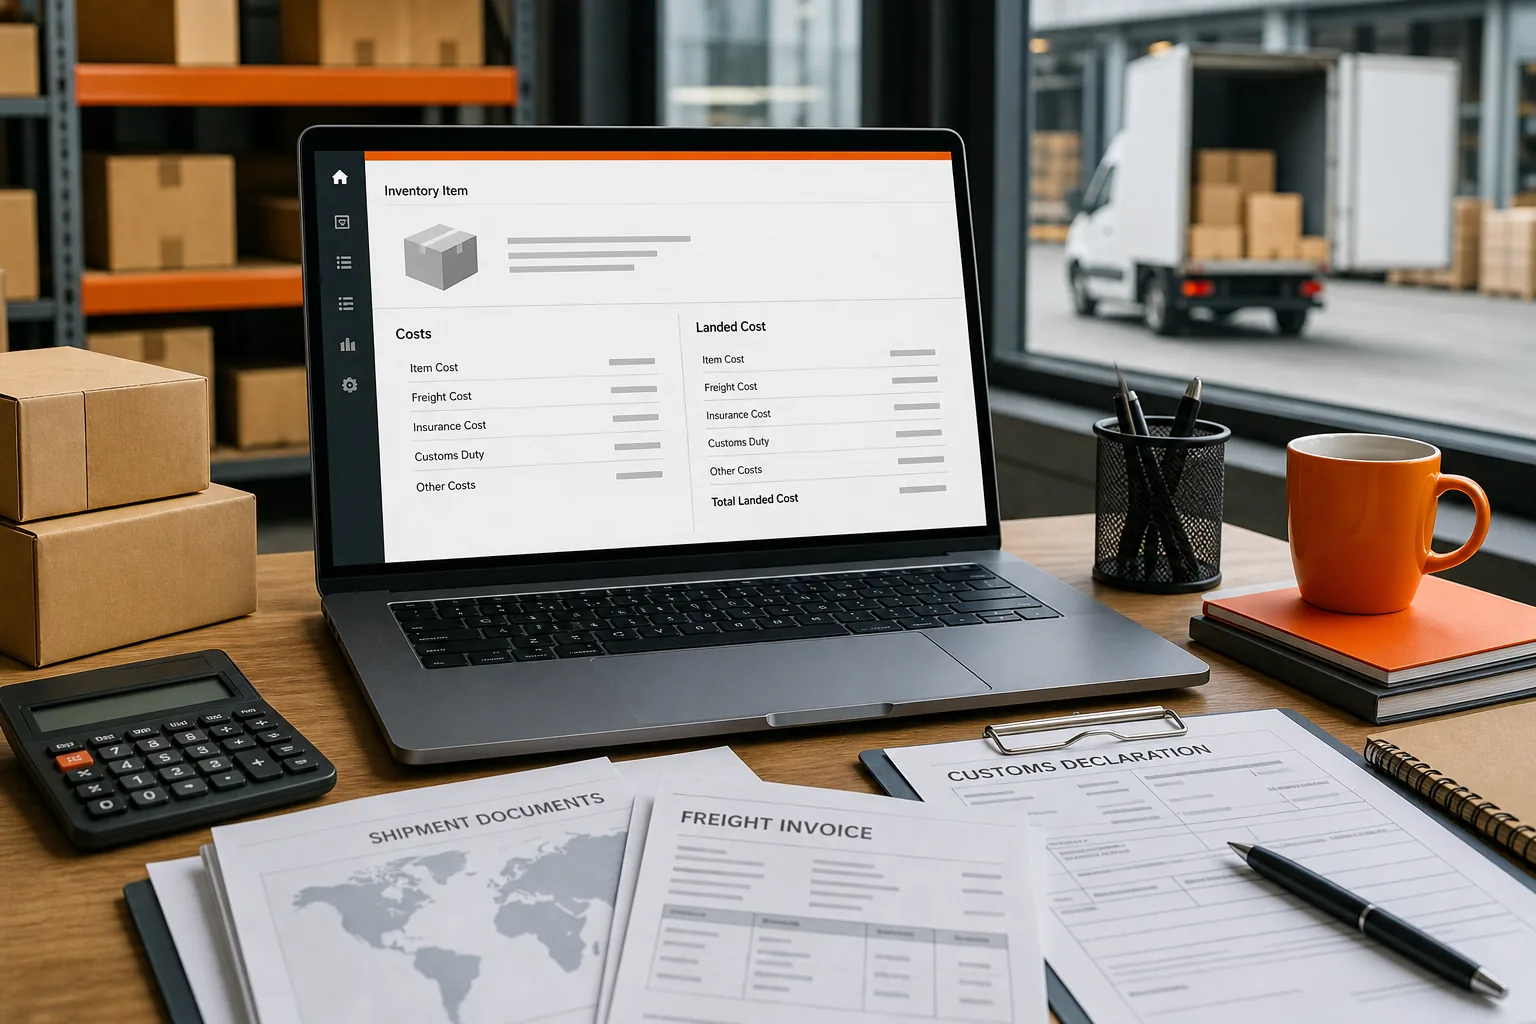
Freight, duty, insurance, and handling can turn a $20 item into a far costlier product before it reaches your warehouse. Landed cost in QuickBooks helps you see that full cost instead of judging margin from the supplier invoice alone. The catch is that setup differs by QuickBooks edition, so let’s walk through the cleanest workflow for Amazon FBA, Shopify, and WooCommerce sellers.
Step 1: Enable Landed Cost and Configure Your Accounts
Start by checking your QuickBooks edition. QuickBooks Desktop’s Advanced Inventory (Landed Cost feature) is available with eligible Enterprise subscriptions. QuickBooks Online also has a native landed-cost feature for small businesses that import inventory and need landed-cost tracking.
For Desktop Enterprise, open Edit, Preferences, Items and Inventory, Company Preferences. Open Advanced Inventory Settings, then select the Landed Cost tab. Turn the feature on and set up the account QuickBooks will use as a clearing account.
A clearing account temporarily holds freight and duty costs before you assign them to inventory. An Other Current Asset account is usually the cleaner choice for this purpose. The balance should fall back to zero after you post the allocation. If it stays open, some cost has not been matched to inventory.
Next, set up other-charge items for the costs you expect to track. Common examples include:
- Freight or shipping
- Customs duty or tariffs
- Cargo insurance
- Port, broker, or handling fees
Map each item to the clearing account. In Desktop, open the item list and choose an Other Charge item. Add the purchase description, then point its expense account to the landed-cost clearing account. You may need a sales account before QuickBooks will save the item, even if you never sell that charge itself.
QuickBooks Online users without a dedicated allocator need a holding account and a consistent naming system. Use one account for costs tied to a shipment or purchase order. Put the same PO number in each bill description. That small habit makes a later report far easier to sort.
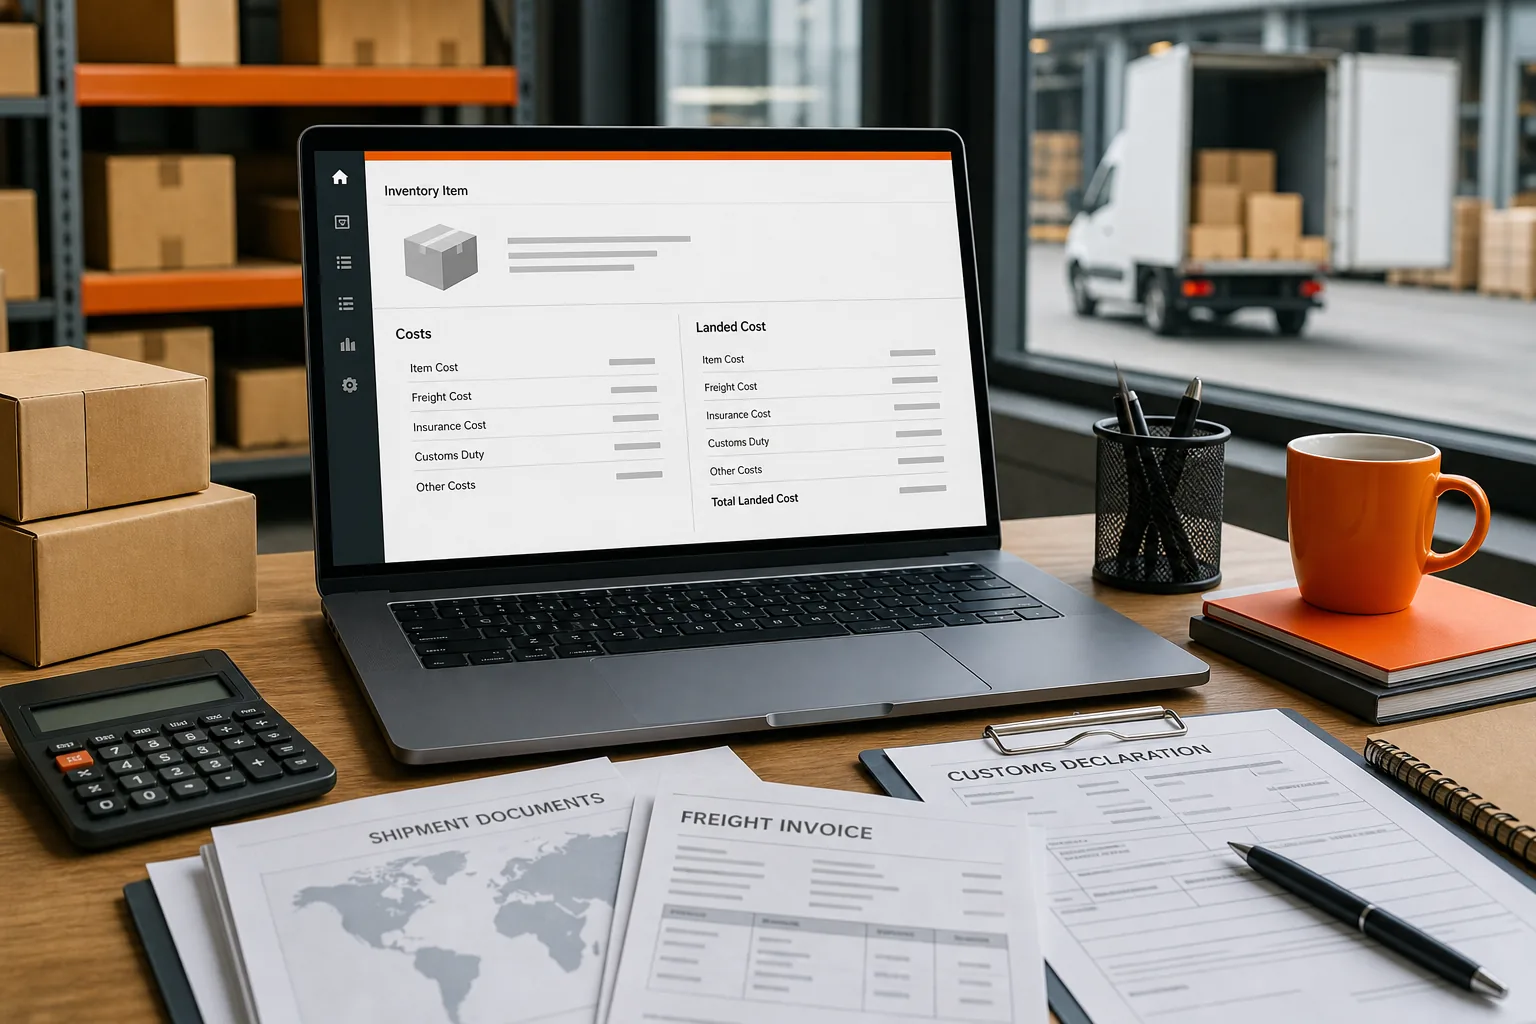
Key Takeaway: Pick the clearing account first, then map every freight and import charge to it before posting bills.
Step 2: Add Inventory, Freight, Duty, and Handling Bills
Accurate landed cost in QuickBooks starts with clean bills. Record the inventory purchase at the supplier’s invoice value. Then enter each outside charge against the same shipment or PO.
Create the inventory bill from the supplier invoice. Add the correct SKU, quantity, unit rate, and date. The SKU must match the item you plan to receive and sell. If the supplier invoice covers several SKUs, keep each line separate. Allocation is much easier when the bill shows the true item mix.
Now enter the extra bills. A freight carrier gets a freight item. A customs broker or government agency gets a duty item. An insurer gets an insurance item. Post each bill to the mapped landed-cost item instead of sending it straight to operating expense.
That treatment keeps the cost in the clearing account while you gather the shipment paperwork. It also gives you a record of who charged what. If freight arrives weeks after the supplier bill, you can still tie it back to the right PO.
Use the same shipment reference in every description. You can also assign a customer or project as a group identifier when your QuickBooks edition supports it. The goal is simple: when you open the clearing-account report, every charge for one shipment should sit together.
For example, imagine one purchase with product from a supplier, freight from a carrier, and duty from customs. The product bill records the units. The other bills record costs that belong to those units. You have not changed the inventory value yet. You have only gathered the inputs for the allocation.
Keep the source documents with the bills. Save the freight invoice, duty receipt, commercial invoice, and any broker statement in the transaction record when possible, and the guide to organizing supplier invoices covers a filing structure that survives a bill arriving weeks late. During an audit or margin review, the question is rarely “did we pay something?” It is “which inventory did this charge belong to?”
Before moving on, run the clearing-account detail report. Look for duplicate bills, credits, wrong dates, and charges assigned to the wrong shipment. Fix those problems now. An allocator can spread a bad number very efficiently.
For a unit-level example, use this landed cost per unit formula to check the amount before you post it in QuickBooks. The math should agree with the bills in your clearing account.
Step 3: Allocate Landed Costs in QuickBooks Online and Desktop
Allocation is where landed cost in QuickBooks moves from a temporary holding account into inventory. You choose which items receive the cost, then select a fair method for splitting the total.
QuickBooks Desktop Enterprise
Open the bill that contains the inventory items. Select Calculate Landed Cost near the top of the transaction. The landed-cost window lets you find bills that have not yet been allocated.
Filter by date or vendor if the list is long. Select the freight, duty, insurance, or handling bill that belongs to the shipment. Add the amount you want to allocate. If one bill covers two shipments, enter only the share linked to the current inventory bill.
QuickBooks Desktop supports several allocation choices:
- By quantity: spreads the cost based on unit count.
- By value: assigns more cost to higher-value inventory lines.
- By percentage: applies a chosen share to each line.
- Manual: lets you enter a specific amount for each item.
Quantity works well when units take a similar amount of space and handling effort. Value can fit a shipment where expensive items drive more insurance or risk. Manual allocation is useful when a carrier invoice gives you cost by carton, weight, or SKU.
Review the new unit costs before posting. QuickBooks may also ask if you want to update sales prices. Say yes only when your pricing policy uses cost-based markups. A higher inventory cost can make an old price too low, but you should approve that change outside the accounting workflow.
QuickBooks Online
QuickBooks Online does not give every plan the same Desktop-style allocation screen. In a basic manual workflow, gather the related costs in your holding account. Then calculate the amount each inventory line should receive in a spreadsheet or calculator.
Adjust the item rates on the inventory bill so the added amounts equal the landed-cost total. Add an offsetting negative line to keep the bill total equal to the amount you owe the supplier. This is easy to get wrong, so check both totals before saving.
A third-party allocator can reduce the hand math. Treat such tools as a control point, not a black box. Review the source bills and the final line values before posting.
For either edition, save the allocation date and shipment reference. If a duty bill arrives later, do not quietly attach it to a different receipt. Post a new adjustment or allocation that clearly explains the change.
Pro Tip: If you allocate by value, calculate the share as item value divided by total item value, multiplied by the landed-cost pool. Keep that worksheet with the bill.
Step 4: Review Valuation, COGS, Margins, and Corrections
After posting, review how the allocation changed inventory valuation and cost of goods sold. Landed cost in QuickBooks should raise the recorded cost of unsold units. When those units sell, the higher cost flows into COGS and lowers reported gross profit for that sale. Where the boundary between the two figures sits is set out in landed cost vs COGS.
Start with the inventory valuation report. Compare the old unit cost with the new one. The difference should match the landed cost assigned to the item, subject to your inventory method and any existing transactions.
Next, review the clearing account. A completed allocation should remove the matched amount from that account. A remaining balance may be valid if another shipment is still waiting for allocation. It may also point to a duplicate bill or an unposted adjustment.
Then check your margin report by SKU. A product can look profitable at the supplier price and weak after freight and duty. That gap is exactly why sellers need the full cost when they set an Amazon FBA price or review a Shopify promotion.
Do not judge the result from one report alone. Check:
- Inventory valuation by item
- COGS for units already sold
- Gross margin by SKU or sales channel
- The landed-cost clearing account
If you posted the wrong amount, correct the source transaction when the period is still open. If the period is closed, use an approved adjustment with a clear memo. Avoid deleting a posted allocation just to make a report look clean. That can break the link between the bill and the inventory record.
Common corrections include changing the allocation method, removing a cost tied to the wrong shipment, or adding a late duty receipt. Keep the original amount visible in the memo. Your future self, bookkeeper, and tax preparer will need to see what changed.

SupplyAutomate can help when these checks span Amazon FBA, Shopify, and WooCommerce orders. We bring shipment documents and cost details into one operating view, so you can compare the expected cost with the accounting entry before a margin review.
For a quick pre-posting check, the landed cost calculator can help you test the per-unit result. Use it as a review tool, then keep the final accounting record in QuickBooks.
Automating Landed-Cost Workflows for Amazon FBA, Shopify, and WooCommerce
Manual allocation can work for a few shipments. It gets harder when one month brings many POs, suppliers, currencies, and delayed duty bills. That is where automation becomes an operations choice, not a bookkeeping luxury.
The native options have limits. The Advanced Inventory (Landed Cost feature) is available only in QuickBooks Desktop Enterprise Platinum or Diamond subscriptions and requires an internet connection. QuickBooks Online may include tariff handling in specific setups, but that does not mean every seller gets a full allocator for freight, insurance, and handling.
Third-party tools also differ. Cin7 supports automatic configurable sync for some QuickBooks Online users. Katana requires manual per-transaction sync. Acctivate supports real-time two-way sync and uses custom pricing. The platform version matters before you compare features.
That cost-versus-capability tradeoff can surprise smaller brands. A seller may pay for a higher QuickBooks tier, add an integration, or accept a manual process. Compare the monthly tool cost with the hours spent matching invoices and correcting margin reports. The same question in its simpler form, a sheet against a system, is worked through in landed cost spreadsheets versus software.
Amazon FBA sellers should group costs by shipment or purchase order before inventory reaches Amazon. The Amazon FBA landed cost breakdown can help separate product cost from freight, duty, fulfillment fees, and returns. Keep accounting landed cost distinct from marketplace fees unless your reporting policy says otherwise.
Shopify and WooCommerce sellers face a different handoff. Orders may flow through the store while inventory arrives in batches. If landed cost changes after a batch is received, the sales channel report can show a margin that no longer matches the actual unit cost. SupplyAutomate is built for this ecommerce workflow, with document processing and landed-cost visibility aimed at sellers who need the answer quickly.
When Shopify is the main channel, review the Shopify landed cost tools for ecommerce alongside your QuickBooks plan. Choose a workflow that keeps SKU names, PO references, and shipment IDs consistent across systems. That is the part automation cannot fix after the fact.
Frequently Asked Questions
What is landed cost in QuickBooks?
Landed cost in QuickBooks is the full cost of getting inventory ready to sell. It can include the supplier price plus freight, duty, insurance, and eligible handling charges. Instead of leaving those costs as a general expense, you assign them to inventory items so valuation and later COGS reflect the shipment’s actual cost.
Does QuickBooks Online have a landed cost feature?
QuickBooks Online has landed-cost support in some setups, but the exact workflow depends on your plan and feature access. Some users gather costs in a holding account and adjust inventory bill rates manually. Others use an allocator or connected inventory tool. Check your current QuickBooks account before promising a fully automatic process.
Which QuickBooks version supports landed cost?
QuickBooks Desktop’s native landed-cost feature is tied to higher-tier Enterprise subscriptions. QuickBooks Online has separate import and tariff-related capabilities, but access can vary. If you use Simple Start or a standard online workflow, plan for manual allocation or a connected add-on rather than assuming the Desktop screen will appear.
How should I allocate freight and duty to inventory?
Allocate freight and duty using the basis that best matches how the cost arose. Quantity works for similar units. Value fits costs tied to item value. Weight, volume, or a manual split may suit freight invoices with different carton sizes. Document the method and keep the worksheet with the related bill.
What happens to profit after landed cost is posted?
Posting landed cost raises the inventory cost of unsold units. Once those units sell, the added cost flows into COGS, which lowers gross profit for the sale. That result may look worse than a supplier-only report, but it gives you a better view of SKU margin and pricing risk.
Can I remove a landed-cost allocation?
You can correct a landed-cost allocation, but the safest method depends on the period and transaction status. For an open period, edit or reverse the source entry and repost the correct allocation. For a closed period, use an approved adjustment with a memo. Keep an audit trail instead of deleting the original without explanation.
Conclusion
Use a clearing account, group every charge by shipment, and review inventory valuation after each allocation. For a small volume of imports, QuickBooks can handle the process with care. If Amazon FBA, Shopify, or WooCommerce shipments are growing faster than your manual checks, test SupplyAutomate with your current PO and freight workflow, then confirm the final entries in QuickBooks.