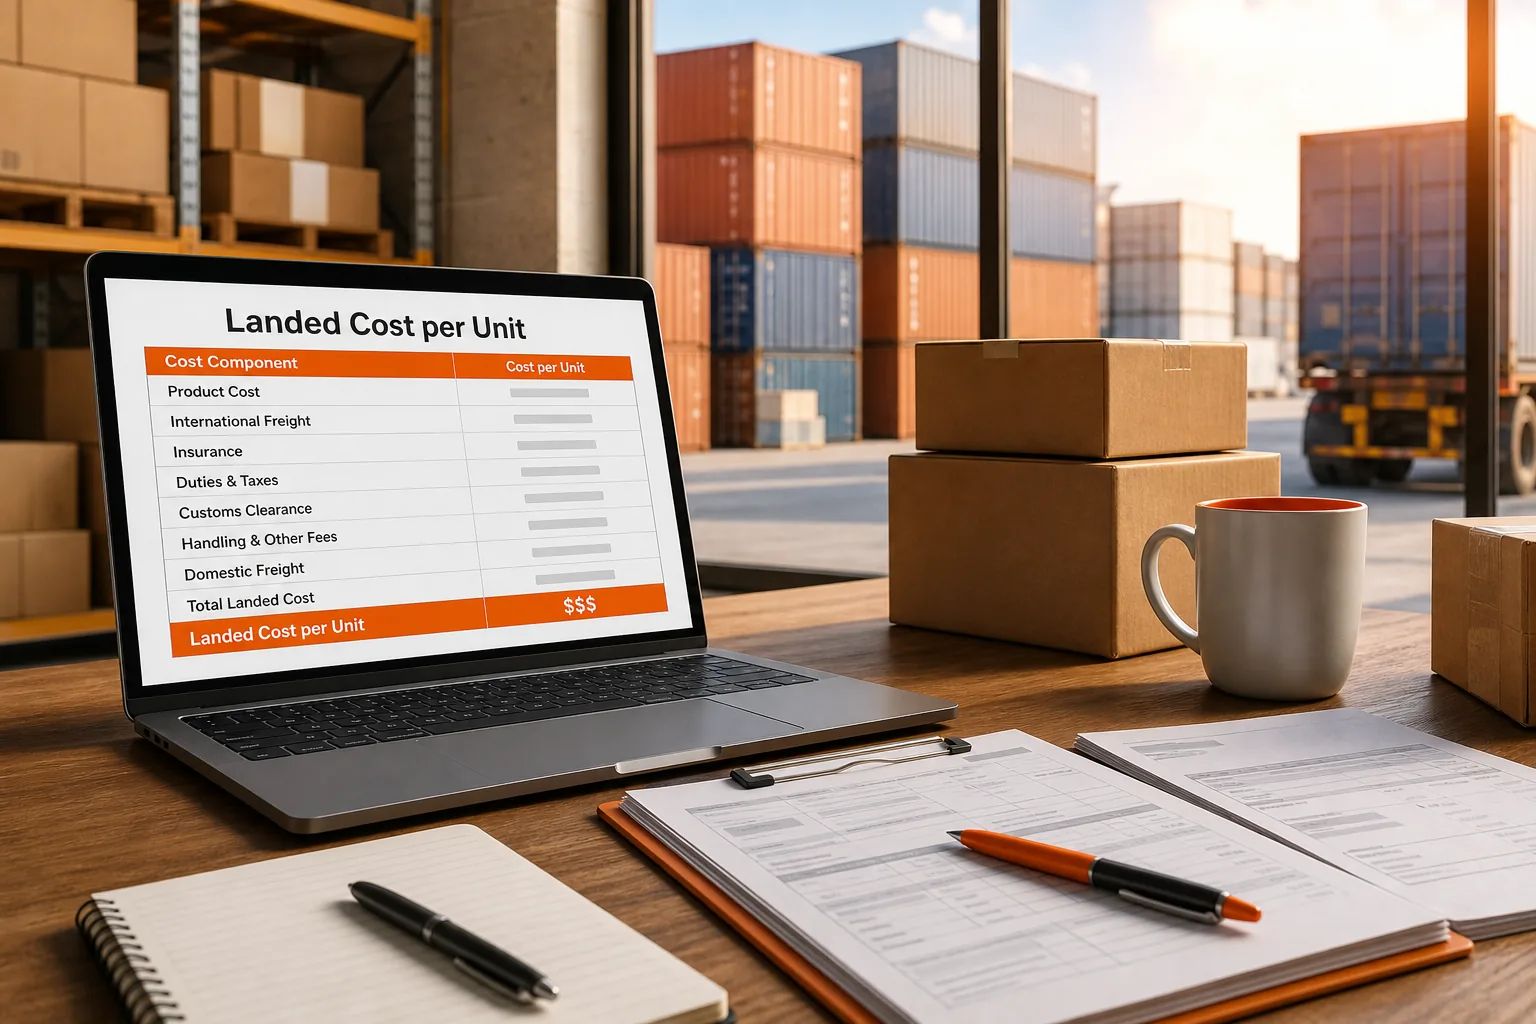
That supplier quote may be the smallest part of what each product costs. Freight, duty, insurance, customs fees, and warehouse handling can shift your margin before a unit reaches your stockroom.
In 2026, some sellers still miss tiny charges that add up fast. Use the formula below to find the true landed cost per unit, test your price, and spot weak SKUs before you reorder.
What Landed Cost per Unit Includes
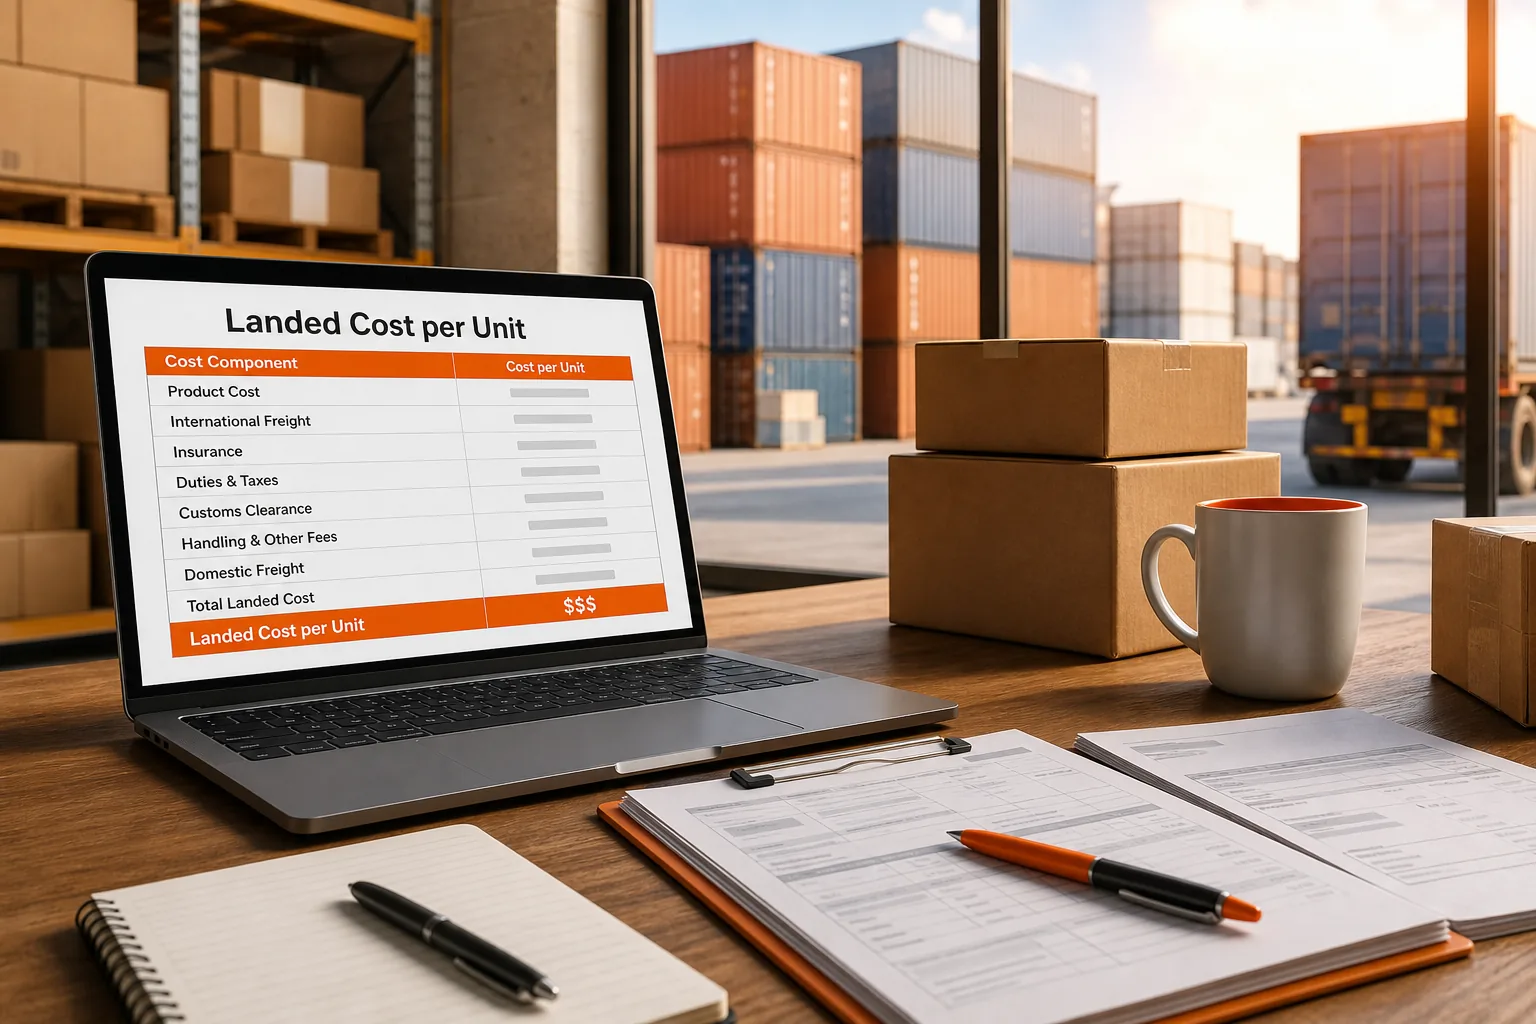
Landed cost per unit is the full cost of getting one sellable unit from the supplier to your warehouse or fulfillment center. The supplier invoice is only the buy cost. Landed cost adds every required cost tied to that shipment.
For an Amazon FBA, Shopify, or WooCommerce seller, the usual cost groups are:
- Product cost: The supplier price multiplied by the order quantity.
- Freight: Inland pickup, ocean or air transport, port movement, and delivery to your warehouse.
- Duty and tariffs: Import charges based on the product's HS code, declared value, and origin.
- Insurance: Transit coverage based on the value you declare for the shipment.
- Customs and handling: Brokerage, documentation, terminal fees, exams, and clearance charges.
- Overhead: Quality checks, short-term storage, bank fees, and currency conversion costs tied to the purchase.
Freight often takes 15% to 20% of total landed cost. Insurance is usually smaller, around 0.5% to 2%, but the base matters. If shipment value rises and coverage stays fixed, your risk rises with it. Currency conversion can add another 2% to 3% when the payment rate differs from the rate used on the purchase order.
U.S. import fees can also surprise sellers. The Merchandise Processing Fee is listed at 0.3464% with a $32 minimum, while the Harbor Maintenance Fee is 0.125%. A small shipment may feel those minimum and fixed charges more than a large container does.
Keep the accounting meaning clear. Inventory cost usually becomes cost of goods sold when the item sells. That makes landed cost useful for testing the difference between landed cost and COGS before you review a margin report.
A dataset reviewed for this topic listed 40 separate cost components, but only eight had a typical percentage of total cost. That gap matters. Use published ranges as planning inputs, not as a substitute for your own invoices.
One more warning: tariff rules depend on the product and trade lane. Wood furniture, for example, may face a Section 232 duty of up to 25% of declared value under the cited import example. Check the classification and current treatment for each shipment.
Key Takeaway: A unit cost is incomplete until it includes the costs that move, clear, protect, and receive the goods.
How to Calculate Landed Cost per Unit
The basic landed cost per unit formula is simple:
Landed cost per unit = Total landed cost ÷ Number of sellable units received
First calculate total landed cost:
Total landed cost = Product cost + Freight + Duty and taxes + Insurance + Customs and handling + Allocated overhead
Then follow this process.
1. Confirm the unit count
Start with the number of units you expect to receive in sellable condition. Do not divide by the order quantity if some units are damaged, held for inspection, or set aside for quality testing. A smaller sellable count raises the per-unit result.
2. Capture the product value
Multiply the supplier unit price by the quantity. Add approved packaging, tooling, or inspection charges when they relate to this shipment. Keep deposits separate from product cost unless the deposit is part of the purchase price.
3. Add every freight leg
Use the full transport path. That may start with pickup at the factory, then move through export handling, main freight, port charges, and final delivery. Peak-season surcharges belong in the estimate when the carrier applies them.
4. Calculate duty from the right base
Duty is not always a flat percentage of the supplier invoice. The base may include product value and freight, depending on the customs rules for the shipment. Use the HS code and country of origin. A customs broker should confirm the final rate.
5. Add fees and shared costs
Include brokerage, documentation, terminal charges, MPF, HMF, inspection, and bank fees. For shared costs, choose a fair allocation method. Divide a fixed fee by units when unit count drives the cost. Use product value, weight, volume, or freight share when that better reflects the cause.
6. Divide and test
Add the line items, then divide by sellable units. Compare the estimate with the final bills after receipt. This is where many teams find a mismatch between the PO estimate and the payment record.
A spreadsheet can handle one shipment. Multiple currencies, SKUs, suppliers, and fulfillment centers make manual work harder. A detailed landed cost formula and calculation model can give each SKU the same treatment.
Pro Tip: Keep estimated and actual costs in separate columns. Replace estimates after bills arrive, but preserve the original estimate for variance review.
Worked Example: From Supplier Invoice to Warehouse Cost
Consider a shipment of 100 units moving from a supplier to a warehouse. The figures below are hypothetical, but the method is the one you can use on a PO.
The supplier charges $50 per unit. Product cost is therefore $5,000. The shipment has a freight bill of $1,000. Assume 25% of that freight belongs to the goods in this example, so the allocated freight is $250, or $2.50 a unit.
The duty rate is 5% of the product value. Duty adds $250, which is another $2.50 a unit. Insurance is $50. Customs brokerage and documents add $100. Local delivery adds $200. Warehouse receiving adds $100.
Now total the shipment:
- Product cost: $5,000
- Allocated freight: $250
- Duty: $250
- Insurance: $50
- Brokerage and documents: $100
- Local delivery: $200
- Warehouse receiving: $100
Total landed cost is $5,950. Divided by 100 sellable units, landed cost per unit is $59.50. The supplier's $50 quote does not capture the other $9.50.
Now add a delay. Suppose customs holds the shipment for three days at $100 per day. That $300 lifts the shipment to $6,250, and the unit cost to $62.50.
This is why an estimate should not disappear after the goods arrive. Compare the planned figures with the duty receipt, freight invoice, and warehouse bill. The gap tells you which cost driver needs better forecasting.
The same method works when one container carries several SKUs. Allocate freight by cubic volume when space drives the bill. Allocate by weight when weight drives the carrier charge. A flat split is easy, but it can distort the margin of bulky or heavy goods.
For Amazon sellers, the next layer is marketplace economics. FBA storage, pick-and-pack, referral fees, and returns are usually selling costs rather than inbound landed costs. Keep them visible in the profit model, but do not blend them into the inventory figure by accident.
That distinction is covered in more detail in the Amazon FBA landed cost calculation guide, where inbound inventory cost is kept separate from later marketplace fees.
Using Landed Cost to Set Prices and Protect Margins
Use landed cost per unit as the starting point for a price test, not the supplier quote. If your unit lands at the fully loaded inventory cost, pricing from a lower buy cost gives you a false margin before platform and selling costs enter the picture.
Markup and margin are different
A markup adds a percentage to cost. A margin measures the share of selling price left after cost.
For a 40% markup on a landed cost:
Selling price = landed cost × 1.40
Gross profit before other selling costs is the difference between selling price and landed cost. Gross margin is that difference divided by selling price.
That price may still be too low for an Amazon FBA or Shopify store. You may need to subtract payment fees, marketplace fees, advertising, returns, fulfillment, discounts, and sales tax treatment. Landed cost tells you what the inventory costs. It does not replace a full contribution margin model.
Use break-even logic
Fixed costs need a separate test. If monthly fixed costs are $10,000 and contribution after landed cost and variable selling costs is $20 per unit, break-even volume is:
Break-even units = Fixed costs ÷ Contribution per unit
$10,000 ÷ $20 = 500 units
Run this test before placing a large PO. A product can show a healthy percentage margin and still need more sales than your channel can support.
Compare suppliers by final cost
The lowest factory quote may lose once freight, duty, and payment terms are included. A supplier in another country may have a higher unit price but a lower total cost after tariffs and transport. Compare the same shipment size, delivery term, product classification, and quality requirement.
For Shopify brands, SKU-level cost data helps when a bundle contains items from different POs. A Shopify landed cost tool comparison can help you think through that workflow without treating every product as if it has one fixed cost forever.

Track three numbers for each SKU: estimated landed cost, actual landed cost, and current selling price. Add a variance flag when actual cost rises above your price model. That gives you a trigger to raise price, pause ads, change freight mode, or renegotiate the next PO.
Key Takeaway: Price from the cost that reaches inventory, then layer channel fees and fixed costs on top.
Tools, Templates, and Ways to Reduce Landed Cost
A spreadsheet is a good place to start. Build one row per SKU and include supplier, origin, HS code, quantity, unit price, weight, dimensions, freight mode, duty rate, insurance rate, and sellable units. Add columns for each fee instead of hiding all extras in one overhead cell.
Useful spreadsheet tabs include:
- Product data: SKU, supplier, origin, unit cost, quantity, weight, and volume.
- Freight: mode, rate, terminal charges, local delivery, and allocation method.
- Import: dutiable value, duty, tariff, MPF, HMF, broker fees, and tax.
- Admin: quality checks, bank fees, documentation, and short-term storage.
- Margin view: landed cost, selling price, variable fees, contribution, and break-even units.
Use formulas rather than typed totals. Protect the formula cells. Add a date and currency to every estimate. SupplyAutomate also provides supply chain spreadsheet templates for teams that want a starting structure instead of a blank file, and the landed cost calculator checks a single shipment without building a sheet at all.
Spreadsheets become fragile when a team copies a tab for every PO. The comparison of landed cost spreadsheets versus software sets out where that line falls. A dedicated system can tie supplier documents to the purchase order, keep currencies visible, and show cost changes by SKU. SupplyAutomate is built for Amazon FBA, Shopify, and WooCommerce sellers that need orders, supplier messages, and landed cost data in one workflow.
Accounting systems can use estimated or actual landed costs. Actual costs are more precise, but they depend on receiving freight and duty bills close to the inventory receipt. If bills arrive weeks later, an estimated method can keep the inventory record usable while the team waits for final amounts.
Ways to lower the final number
Choose the right freight mode. Air freight saves time but usually costs more. Ocean freight can lower unit cost when demand planning gives you enough lead time.
Fill shipments better. Consolidate orders when possible. Partly filled containers spread fixed charges across fewer units.
Reduce package volume. A smaller carton can lower dimensional weight and improve container use. Test the new pack for damage before changing it across the line.
Share a forecast. A supplier that can plan production may avoid rush work and last-minute freight. Give forecasts as plans, not guaranteed orders.
Review the sourcing country. Compare the complete landed figure after tariff, freight, lead time, and quality checks. A move only makes sense when the full set of costs supports it.
Keep a dashboard with freight share, duty share, currency variance, and actual-versus-estimated cost. When one SKU jumps, you can see if freight, classification, volume, or a fixed fee caused the change. That is much more useful than staring at one blended average.
For a small catalog, start with a sheet and a monthly review. For a growing catalog, SupplyAutomate can reduce the manual handoff between documents, POs, and cost review. The goal is one current number per SKU, backed by the bills behind it.
FAQ
What is landed cost per unit?
Landed cost per unit is the total cost of getting one sellable product into your warehouse or fulfillment center. It includes the supplier price plus freight, duty, insurance, customs fees, handling, and allocated overhead. Divide the shipment's total landed cost by the number of sellable units received.
What is the formula for landed cost per unit?
The formula is total landed cost divided by sellable units. First add product cost, freight, duty, taxes, insurance, brokerage, handling, and related overhead. Then divide that total by the units available for sale. Use the sellable count when damage, inspection, or shortages reduce the received quantity.
Does landed cost include Amazon FBA fees?
Landed cost usually covers the cost of getting inventory into stock, not later Amazon FBA selling fees. Referral fees, storage, fulfillment, advertising, and returns belong in your wider contribution margin model. Keep them separate so you can see both the inventory cost and the cost of selling each unit.
How should I allocate freight across multiple SKUs?
Allocate freight by the factor that drives the charge. Use volume for container space, weight for weight-based freight, and unit count for a truly unit-based fee. Record the method in your worksheet. A flat split is fast, but it can overstate the cost of small items and understate the cost of bulky ones.
Should I use estimated or actual landed costs?
Use actual landed costs when the final bills arrive close to the inventory receipt and your team can match them reliably. Use estimates when freight, duty, or broker invoices arrive later. Then replace estimates with actuals and review the variance. The best process keeps both numbers visible.
Calculate every inbound cost before you set a price or approve a reorder. Start with a SKU worksheet this week, then move to SupplyAutomate when document volume makes manual updates hard to trust.