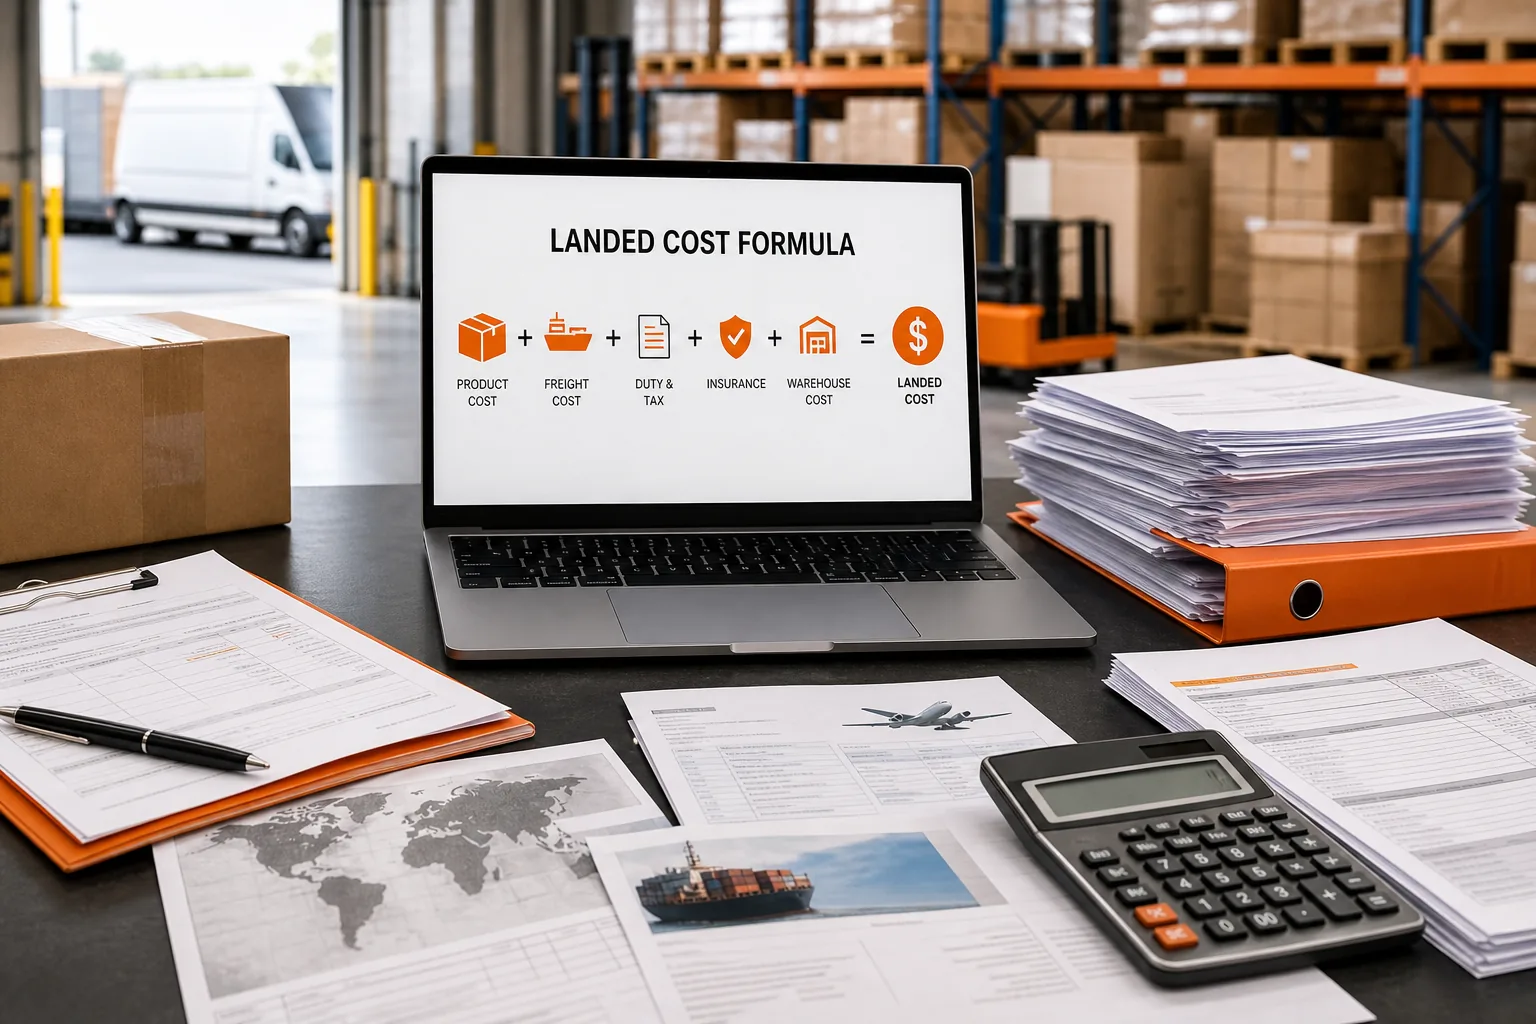
That $10 product may cost far more by the time it reaches your warehouse. A single customs processing fee can change the math fast. The landed cost formula adds every cost from supplier to selling location, so Amazon FBA, Shopify, and WooCommerce sellers can price with facts instead of hope.
What Is the Landed Cost Formula?
The landed cost formula shows the full cost of getting inventory from a supplier to your warehouse or fulfillment point. It starts with the supplier price, then adds the costs that appear during transport and import.
The simple version is:
Landed cost = product cost + shipping + customs + risk + overhead
Product cost means the unit price on the supplier invoice. Shipping includes freight, surcharges, port charges, and local delivery. Customs covers duties, tariffs, taxes, and entry fees. Risk includes cargo insurance and quality checks. Overhead can include currency conversion, bank fees, brokerage, documentation, and short-term storage.
For an ecommerce seller, the result should usually be a cost per unit. A $2,000 freight bill means little on its own. Divide it across the units that share that shipment, then add the result to each SKU's cost.
Landed cost is the sum of expenses linked to shipping a product, including international taxes and fees. The exact line items vary by shipment. A product sent by air may have a very different cost profile from the same product sent by sea.
This is also where buy cost and landed cost split apart. Buy cost is the factory price. Landed cost is what the unit costs after the shipment reaches its planned destination. If you sell on Amazon, your marketplace fees belong in a separate channel profit view unless you're calculating the full cost of a customer order.
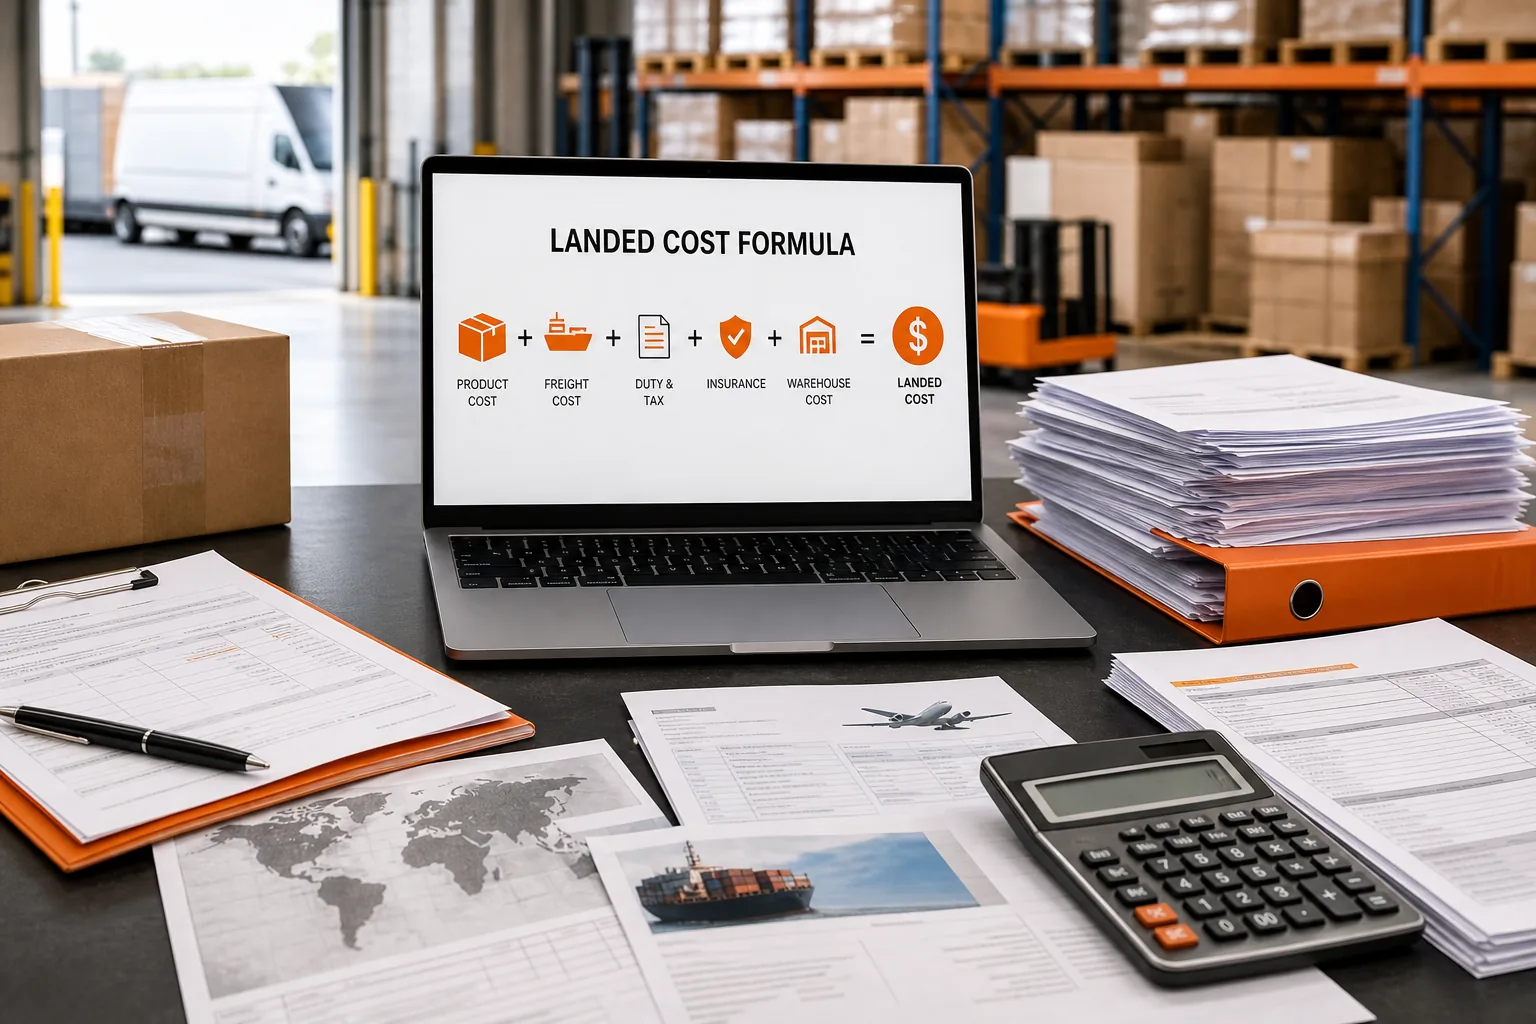
Key Takeaway: The supplier invoice is the starting point, not the final cost. A useful unit cost includes every charge needed to place inventory at its selling location.
Step 1: Gather Every Cost From Supplier to Selling Location
Before using a landed cost formula, gather the source documents for one purchase order, or PO. Use the same shipment and the same destination for every line.
Start with the supplier invoice. Record the SKU, quantity, unit price, currency, country of origin, and HS code. An HS code classifies goods for customs. The wrong code can produce the wrong duty rate, so don't copy it blindly from an old order.
Next, collect the freight quote and final carrier invoice. Check whether the quote includes origin pickup, export handling, international freight, fuel surcharges, port fees, terminal charges, and delivery to your warehouse. A quote that covers only the ocean leg leaves a hole in your calculation.
Your cost sheet should also have these fields:
- Import duty: Customs value multiplied by the duty rate.
- Customs processing: Entry fees charged by the customs authority.
- Broker fee: The cost of clearing the shipment.
- Insurance: Cargo value multiplied by the insurance rate.
- Currency cost: The fee or loss caused by converting currencies.
- Receiving: Warehouse inspection, count, labeling, and handling.
- Storage: Charges for holding stock before sale or onward shipment.
Fixed fees need care. Customs processing can run from $25 to $100 per entry in the cited ecommerce example, while warehouse receiving may cost $1 to $5 per unit. A small shipment spreads those fixed charges across fewer units.
For Amazon FBA, add inbound placement or prep costs when they apply to your channel model. For Shopify and WooCommerce, check your 3PL receiving terms and payment costs. Keep outbound fulfillment, marketplace fees, advertising, and returns in a separate contribution-margin view if your goal is inventory valuation.
The Amazon FBA landed cost breakdown helps separate inbound inventory cost from selling-channel charges. That distinction keeps one fee from being counted twice.
One overlooked $25 entry fee may look small beside a large PO. It becomes meaningful when the PO has only a few hundred units. Record it anyway. Small leaks add up.
Step 2: Calculate Landed Cost With a Usable Example
Now apply the landed cost formula to a shipment of 500 units. The numbers below are hypothetical, but the order of operations is the part to copy.
Assume the supplier charges $20 a unit. Product cost is the unit price multiplied by the shipment quantity, so 500 units come to $10,000.
Assume international freight costs $1,000. Freight per unit is total freight divided by the shipment quantity, which is $2.00.
Next, apply a 2% duty rate to the product value. On $10,000 that is $200, or $0.40 a unit. Cargo insurance adds a coverage cost based on the value and policy terms; a $50 policy on this shipment is $0.10 a unit.
Now add a payment or administration charge per customer order. If the charge applies once to each order rather than to each inbound unit, keep it out of inventory landed cost. If your business model assigns it to each unit, document that choice. The goal is consistency.
For a simple per-unit model that assigns the charge to each unit, the total is:
- Product: $20.00
- Freight: $2.00
- Duty: $0.40
- Insurance: $0.10
- Processing: $0.30
Total landed cost: $22.80 per unit, or $11,400 for the shipment
If the charge applies to the entire shipment instead, allocate it across 500 units rather than assigning it to each unit. A single $30 processing fee becomes $0.06 a unit, and landed cost falls to $22.56. This example shows why the fee's billing basis matters more than the label on the invoice.
Research examples also show how quickly a $10 product can pass $15 after freight, duties, customs, conversion, insurance, and handling. Currency conversion may add around 1.5% in one example, while insurance rates vary by cargo and policy. Treat sample rates as planning inputs, not promises.
A worked example uses 500 units, shipping, a 2% duty rate, insurance, and processing costs to show how a per-unit total is built. Your customs value may differ, so confirm the basis with your broker and the rules for your destination.

Step 3: Allocate Costs Across Units and Mixed Shipments
A mixed shipment needs an allocation rule before you can calculate landed cost per SKU. The simplest rule divides a shared fee by total units. That works only when the items have similar size, weight, and value.
Use the cost driver that caused the charge:
- Allocate weight-based freight by each SKU's share of shipment weight.
- Allocate volume-based freight by cubic volume.
- Allocate value-based insurance by product value.
- Allocate duties by each item's customs value and duty rate.
- Allocate a fixed broker fee by unit count, value, or another stated rule.
Imagine a shipment with two SKUs. SKU A takes 25% of the shipment's freight space. If shared freight is available, assign the applicable share to SKU A. Divide that amount by SKU A's unit count. Do the same for the other SKU, then add each product's own duty and insurance amount.
Don't use one allocation rule for every charge. A bulky low-value item can consume most of the container while contributing little customs value. A small high-value item may have the opposite profile.
Track the allocation basis in your spreadsheet or system. Write “weight,” “volume,” “customs value,” or “units” beside each shared charge. That note helps when a manager reviews the PO months later.
A spreadsheet works for a small catalog. An ecommerce supply chain template can give you a repeatable place for SKUs, quantities, freight, duties, and handling, and the comparison of landed cost spreadsheets versus software marks the point where the file stops paying for itself. SupplyAutomate can also keep purchase-order costs tied to the relevant inventory record, so a late invoice doesn't vanish in an email thread.
Pro Tip: Recalculate once the final freight invoice and duty receipt arrive. Use estimates for pricing decisions, then replace them with actuals for margin review.
If a shipment contains very different products, compare the allocated result with a simple unit split. A large gap means your first method may hide the cost of one SKU.
Step 4: Use Landed Cost to Set Prices and Protect Margins
The landed cost formula gives you a cost floor. It doesn't tell you the final selling price by itself. You still need channel fees, fulfillment, marketing, returns, taxes, and your target profit.
Start with the inventory cost per unit. Then add selling costs for the channel. Amazon FBA fees may differ from your Shopify store costs. WooCommerce may have a different payment setup and 3PL arrangement. The same SKU can be profitable on one channel and weak on another. Where the line falls between the two figures is the subject of landed cost vs COGS.
Markup and margin are different. A markup applies an increase to cost. A margin relates cost to the selling price. The margin-based formula is:
Selling price = total cost ÷ (1 − target margin)
If total cost is known and the target margin is set, calculate the price floor by dividing total cost by one minus the target margin. Add channel fees and other per-order costs before using that formula. Otherwise, the target margin exists only on paper.
Use break-even analysis for fixed charges. If a shipment has $500 in fixed customs, broker, and terminal fees, divide those fees by the contribution earned per unit. The result tells you how many units must sell before those charges are covered.
SupplyAutomate's profit margin calculator uses landed cost as the unit cost instead of the supplier invoice price. That is the right starting point for testing a price across Amazon FBA, Shopify, or WooCommerce.
Pricing also needs updates. Freight rates change. Exchange rates move. Customs classifications can be corrected. Review estimated landed cost when a supplier changes terms, when the route changes, or when the final duty receipt differs from the estimate.
Landed cost helps businesses plan pricing because the calculation shows the expenses that must be covered before profit begins. In plain terms, don't price from the factory invoice and hope the rest works out.
SupplyAutomate brings supplier documents, purchase orders, freight, duty details, conversion costs, and handling into one landed-cost view. That gives sellers a faster answer to a useful question: what did this unit really cost me?
Landed Cost Formula FAQ
What is the basic landed cost formula?
The basic landed cost formula is product cost plus shipping, customs, risk, and overhead. Product cost is the supplier price. Shipping covers transport. Customs includes duties and entry fees. Risk may include insurance. Overhead can include brokerage, currency conversion, bank fees, and warehouse handling.
What costs are included in landed cost?
Landed cost usually includes every expense needed to bring inventory to its planned warehouse or fulfillment point. Common items include product price, freight, duties, customs processing, insurance, currency conversion, brokerage, receiving, inspection, and short-term storage. Marketplace fees, advertising, outbound delivery, and returns may belong in a separate channel cost view.
How do you calculate landed cost per unit?
Calculate landed cost per unit by adding all shipment costs, then allocating shared costs across the units that caused them. Divide unit-based fees by unit count. Allocate weight, volume, value, or fixed fees using a stated rule. Finally, add each SKU's product cost and direct import charges.
Does Amazon FBA fee belong in landed cost?
Amazon FBA fees usually belong in your full selling-cost model, not in basic inbound inventory landed cost. Inbound transport, customs, and delivery to the FBA destination can belong in landed cost. Referral, fulfillment, storage, and advertising fees are best tracked separately when you want to compare channel profit.
Can I calculate landed cost in Excel?
Yes, Excel can calculate landed cost when you have clean inputs and a consistent allocation method. Create fields for SKU, quantity, unit cost, freight, duty, insurance, customs, handling, and storage. Replace estimates with final invoices. For many POs or currencies, SupplyAutomate reduces the manual work by keeping these costs tied to the order.
Conclusion
Use the supplier invoice as your first input, never as your final cost. Build one landed-cost sheet per PO, allocate shared charges by the right cost driver, then test each sales channel against the result. For a faster repeat process, enter your next shipment into SupplyAutomate or its landed cost calculator and replace estimates when the final documents arrive.