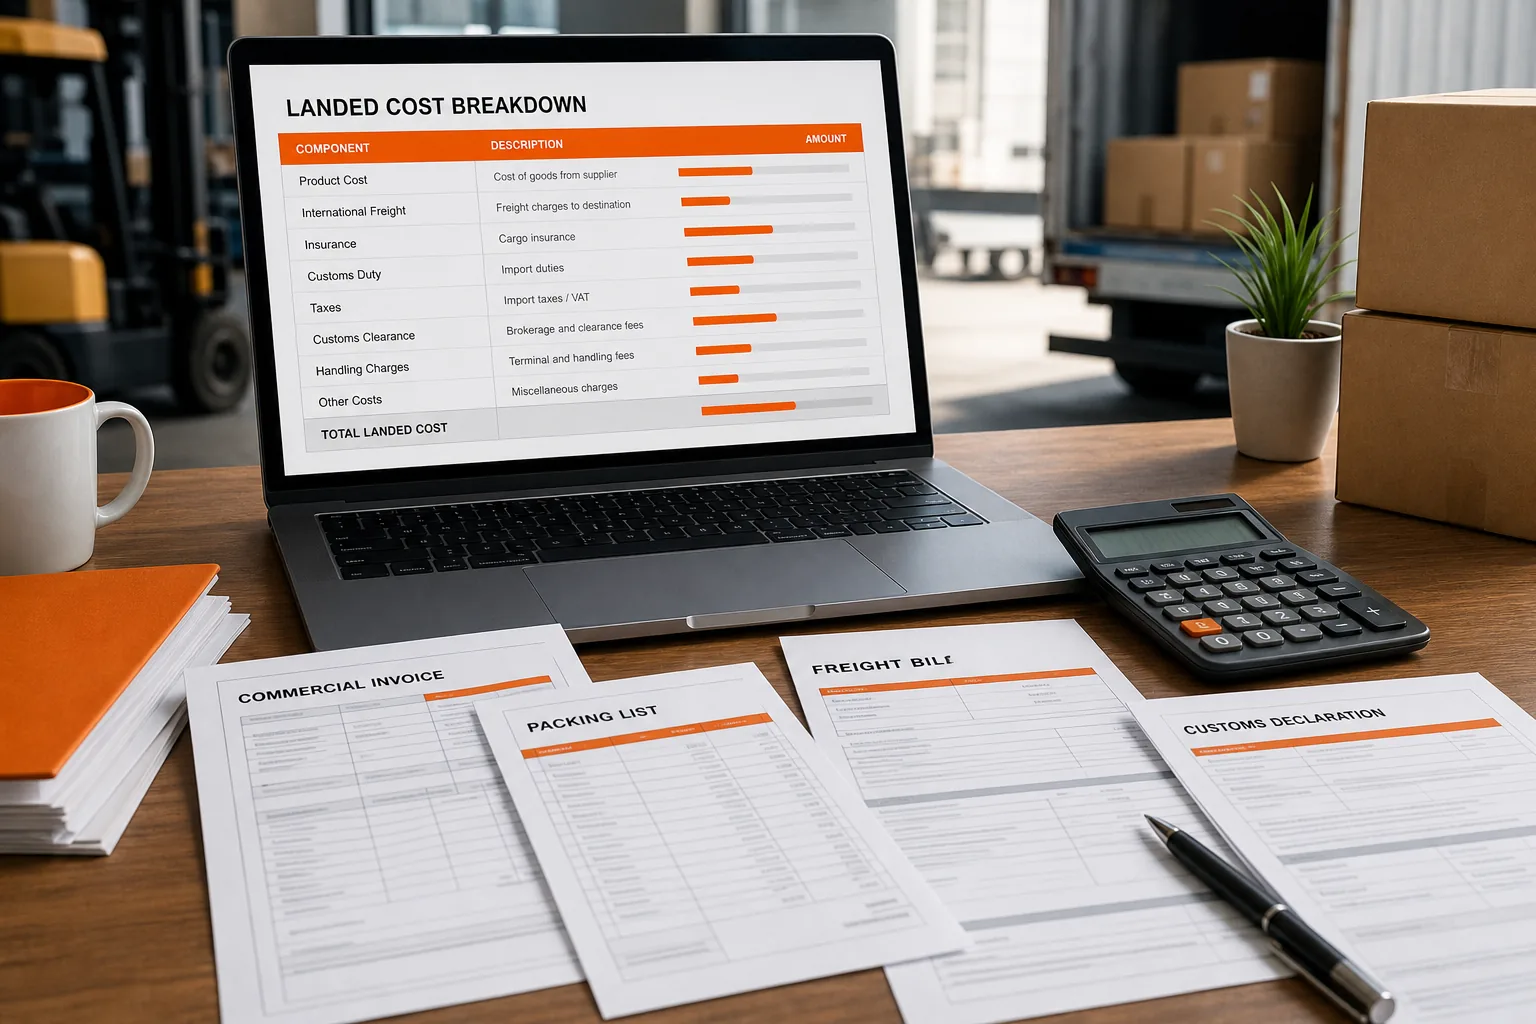
A supplier invoice can look profitable until freight, duty, and port fees arrive. One wrong HS code can even swing duties by up to 125%, turning a $10,000 shipment into a $22,500 bill. Use the five steps below to calculate landed cost before you place a PO, then reconcile it when the goods reach your warehouse or Amazon.
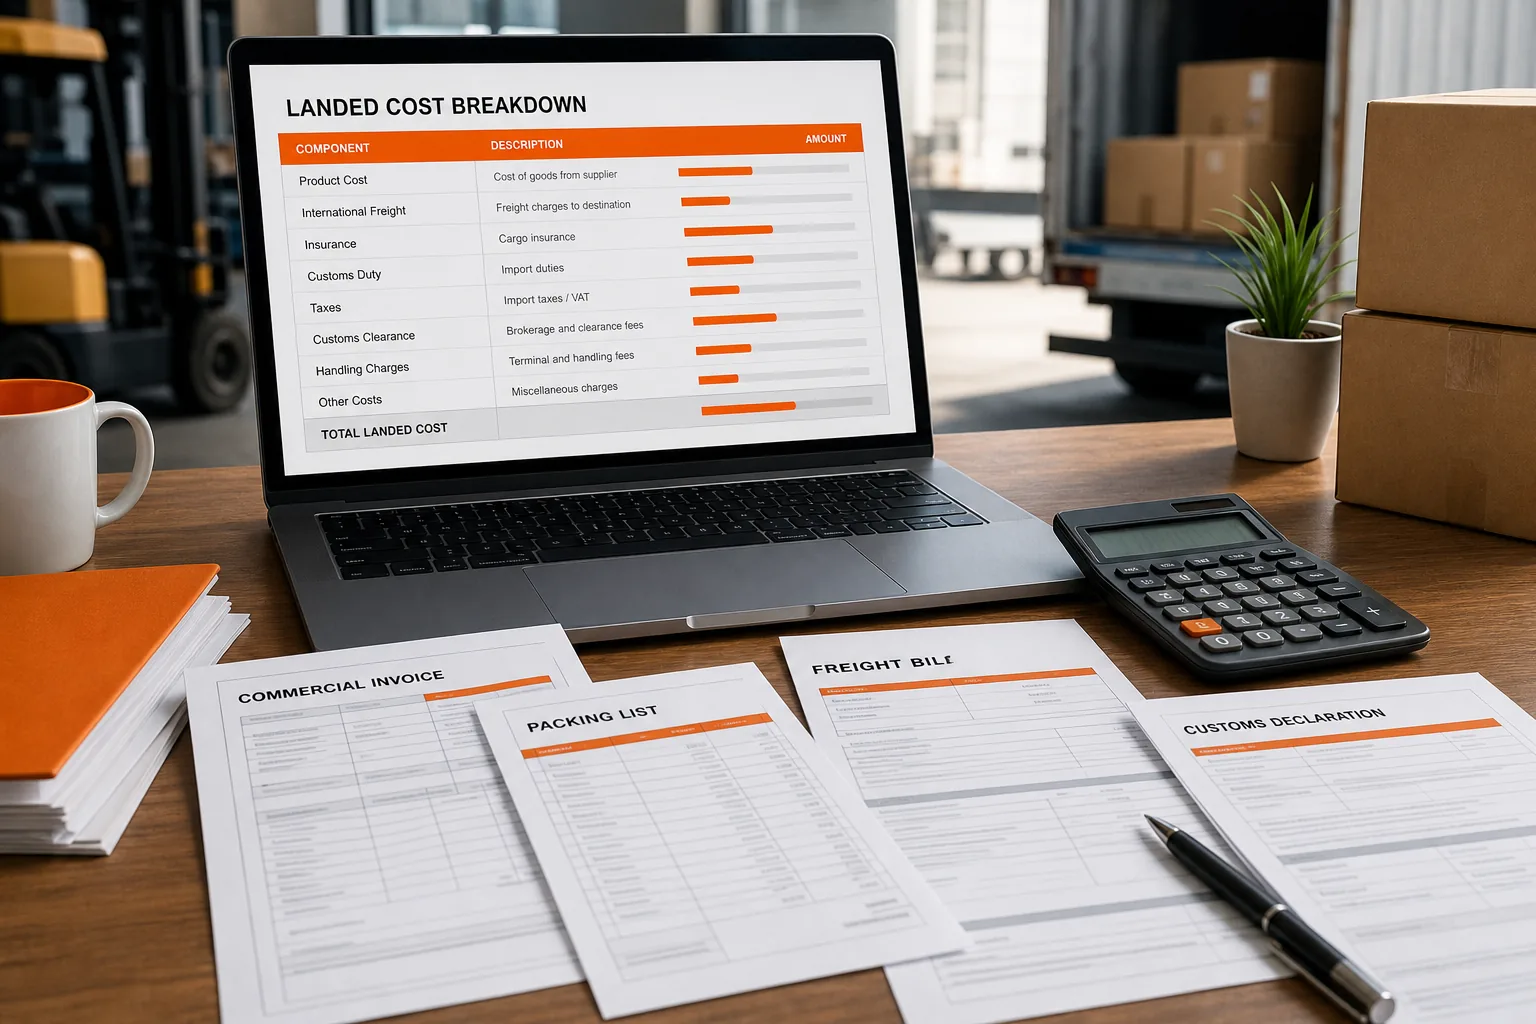
Step 1: Gather Every Landed Cost Component
To calculate landed cost, start with every charge needed to move one sellable unit from the supplier into available stock. The supplier price is only the first line. If the term itself is new, what landed cost is and why it matters covers the idea before the arithmetic.
Set up one cost record for each PO, shipment, and SKU. Capture the supplier quote, quantity ordered, currency, Incoterm, country of origin, and destination. Then add the charges that appear later in the shipment trail.
- Product cost: The price paid to the supplier, plus approved packaging, tooling, or inspection add-ons.
- Origin transport: Pickup, export handling, and delivery to the loading port.
- International freight: Ocean, air, rail, or courier transport.
- Insurance: Cargo cover for loss or damage in transit.
- Customs costs: Duty, import tax, brokerage, entry fees, and port charges.
- Destination delivery: Drayage, trucking, warehouse receiving, or delivery into Amazon's network.
- Currency costs: Exchange-rate movement and payment fees when the invoice uses foreign currency.
For Amazon FBA, keep prep and inbound charges in view because the product must arrive ready for Amazon's fulfillment network. For Shopify and WooCommerce, include the cost to get the SKU into your own warehouse or 3PL. Marketplace referral fees and payment fees belong in the profit model, but many sellers track them separately from landed cost.
A shared shipment needs an allocation rule. Use units when SKUs are alike. Use weight when heavy goods drive the freight bill. Use volume when carton size drives it. Use customs value when the charge follows product value.
A spreadsheet works for a small order. A tool such as the free landed cost calculator can give you a faster first pass before the PO is approved.
Key Takeaway: If a charge helps move inventory into sellable stock, decide whether it belongs in the landed-cost record before you start the math.
Step 2: Confirm Incoterms, Customs Value, and Cost Responsibility
When you calculate landed cost, confirm who pays each charge under the agreed Incoterm. An Incoterm is a trade rule that sets delivery points, risk, and cost responsibility between buyer and seller.
Under EXW, you usually take responsibility soon after the goods leave the supplier. That can include local pickup and export handling. A low EXW unit price may hide costs that a seller has already included under another quote.
Under FOB, the supplier generally gets the goods to the named loading port and clears them for export. You then plan the main freight, insurance, import clearance, and inland delivery. Under DDP, the seller takes on much more of the transport and import work, but you still need to confirm what the quoted price includes.
Trade rules can look similar on paper while shifting risk at different points. General trade-rule guidance can help explain these rules, but your contract and quote should control the calculation.
Next, confirm the customs value. Duties are usually based on the declared value of the goods multiplied by the duty rate tied to the correct HS or HTS code. The customs value may differ from the full invoice total when freight, insurance, or post-import charges are shown separately.
For US imports, check the current classification in the applicable tariff schedule. Don't copy a code from a supplier quote without checking the product description, material, use, and country of origin. An incorrect code can raise the duty rate and may trigger penalties or a shipment delay.
Also check for duty preferences under a free-trade agreement. Eligible goods may receive a lower or zero duty rate when the origin rules and paperwork support the claim. Treat that rate as an assumption until the required origin records are in hand.
Write down the cost boundary before you calculate. For Amazon, that may end when sellable stock reaches Amazon. For Shopify or WooCommerce, it may end when your warehouse or 3PL receives the goods. A clear boundary stops you from comparing one supplier's warehouse-ready quote with another supplier's port-only quote.
Step 3: Apply the Landed Cost Formula
The basic formula for calculating landed cost is simple: add every inbound cost, then divide by the number of sellable units received.
Total landed cost = product cost + freight + insurance + duties + taxes + brokerage + port fees + inland delivery + other allocable charges
Landed cost per unit = total landed cost ÷ sellable units received
For duty, use:
Duty = customs value × duty rate
For insurance, use the actual premium when you have it. If you are still estimating, an assumed rate such as 0.5% of commercial value can provide a planning figure. Label it as an estimate. Insurance rates vary by cargo, route, and cover.
Currency needs its own line. Convert each foreign-currency charge into your base currency using the rate you expect to pay, then add the payment or conversion fee. A 2% to 3% exchange-rate shift can change the result on a large PO. A $50,000 order may lose $1,000 to $1,500 through currency movement alone, based on the research used for this guide.
Don't hide fees inside freight. Ask for an itemized quote that shows the base rate plus fuel, peak-season, port, documentation, security, and handling charges. A cheap ocean rate can stop looking cheap once those lines arrive.
For a multi-SKU shipment, calculate each shared charge with a consistent driver. Then divide each SKU's allocated total by its sellable units. If 20 units arrive damaged or short, use the units you can sell as the divisor. The PO quantity is not always the right denominator.
For Amazon sellers, keep FBA fees outside the core inbound figure when you need a clean inventory cost. Add referral fees, fulfillment, ads, returns, and storage in a second profit calculation. The Amazon profit calculator helps connect that landed unit cost to the selling price and margin, and the Amazon FBA landed cost guide works through the same split in detail.
Pro Tip: Keep estimated and actual costs in separate columns. Replace the estimate with the freight invoice, duty receipt, and receiving record as each document arrives.
Step 4: Work Through a Realistic Ecommerce Example
Let's calculate landed cost for a simple ecommerce shipment. Imagine you buy 1,000 units at $10 each under an FOB quote. The product cost is $10,000.
The forwarder quotes $2,000 for ocean freight. Cargo insurance is $50. Customs duty is 7.5% of the $10,000 customs value, which is $750.
Now add the less visible charges:
- Brokerage and entry fees: $150
- Port handling charges: $250
- Local trucking to the warehouse: $600
- Receiving and quality check: $300
That brings the shipment to $14,100: $10,000 of product, $2,000 of freight, $50 of insurance, $750 of duty, and $1,300 of brokerage, port, trucking, and receiving charges.
Divided by 1,000 sellable units, landed cost is $14.10 per unit.
The invoice said $10. Your inventory cost is 41% higher before marketplace fees, payment fees, advertising, returns, and outbound delivery. That difference changes the price you need to charge.
For Amazon FBA, you would add the relevant referral and fulfillment costs to test profit. For Shopify or WooCommerce, you would add payment processing, pick and pack, parcel shipping, and any 3PL charge in the sales model. The Shopify landed cost guide shows how that channel-specific layer fits around the core calculation.
Now test a sourcing change. If another supplier gives you a lower product price but higher freight, calculate both shipments with the same cost boundary. The lowest invoice price may not produce the lowest landed unit cost.
Also test the number of sellable units. If 20 units fail inspection, the same $14,100 spread across 980 units becomes $14.39 per sellable unit. That small change can affect your margin on a low-priced SKU.

Step 5: Validate, Compare, and Automate Your Calculations
The first calculation is an estimate. To calculate landed cost well, compare that estimate with the final documents after receipt.
Attach the commercial invoice, packing list, freight bill, customs entry, duty receipt, broker invoice, and delivery record to the PO. Check each line against the original estimate. Ask what changed, what was missing, and what belongs to another shipment.
Review the variance by cause. A freight increase points to the quote or surcharge. A duty increase may point to classification, origin, or customs value. A unit-cost increase may come from shortages, damage, or a packaging change.
Run the same calculation for sourcing options. Compare suppliers by:
- Final landed cost per sellable unit
- Duty rate and preference eligibility
- Freight mode and quote validity
- Expected loss, damage, or shortage
- Lead time and cash tied up in transit
A supplier with a higher unit quote may win after duty and freight. A country with a lower tariff may lose if transit costs or damage rates are higher. Use the same assumptions for each option, then change one factor at a time.
Manual spreadsheets become hard to trust when you manage several POs, currencies, suppliers, and delivery legs. That tipping point is the subject of landed cost spreadsheets versus software. SupplyAutomate uses AI-driven document processing to connect invoices, freight bills, customs records, and orders. Its landed-cost view updates as new bills arrive, so the number can move from estimate to actual without a fresh round of manual entry.
That workflow fits Amazon FBA sellers who need a true cost before sending inventory into Amazon. It also fits Shopify and WooCommerce brands that split stock across a warehouse or 3PL. You can ask, "What did this shipment really cost?" and trace the answer back to the source documents.
Keep compliance separate from arithmetic. Software can organize the data and expose a bad assumption, but it shouldn't replace a customs broker for regulated goods, complex origin claims, or uncertain classification.
For a broader cost record that follows a product from quote through receipt, use the product cost tracking workflow. It gives each PO a place for estimated cost, in-transit cost, and reconciled actual cost. If you would rather compare tools first, the ecommerce landed cost calculator roundup covers the options either side of a spreadsheet.
FAQ
What is the formula for landed cost?
The formula is total landed cost = product cost + freight + insurance + duty + taxes + brokerage + port fees + inland delivery + other allocable charges. Divide the total by sellable units received to get landed cost per unit. For ecommerce, keep selling fees separate when you want inventory cost, then add them for profit analysis.
Does landed cost include Amazon FBA fees?
Amazon FBA fees are usually tracked separately from inbound landed cost, but they belong in the full profit calculation. Start with the cost of one sellable unit delivered into Amazon. Then add the referral fee, fulfillment fee, storage, advertising, returns, and other selling costs that apply to the SKU.
How do Incoterms affect landed cost?
Incoterms affect landed cost by shifting transport, risk, and import responsibilities between the seller and buyer. EXW may leave you with local pickup and export costs. FOB usually shifts the main freight and import work to you. DDP may include more of those charges in the seller's quote, so check the exact delivery point.
Should I use ordered units or received units?
Use sellable units received when you calculate landed cost per unit. Ordered units can overstate your inventory if goods arrive damaged, short, or held for inspection. If all units are sellable, the two numbers match. If they differ, record the loss and divide the full shipment cost by the units you can actually sell.
How can I calculate landed cost for Shopify or WooCommerce?
For Shopify or WooCommerce, add the supplier price, freight, insurance, duty, tax, brokerage, port charges, local delivery, receiving, and other inbound costs. Divide by sellable units. Then add payment fees, fulfillment, outbound shipping, ads, and returns in a separate margin model.
Can software calculate landed cost automatically?
Software can automate much of the landed-cost workflow when it reads shipment documents and ties charges to the correct PO or SKU. SupplyAutomate is built for Amazon FBA and Shopify sellers, with support for document processing and real-time cost views. You still need accurate product classification and a review process for unusual customs cases.
Conclusion
Use a spreadsheet for a single shipment, but move to SupplyAutomate when documents and SKUs start multiplying. Start with one open PO, enter the actual cost boundary, and reconcile the result when the shipment lands.